More Big Changes to PhotoPass at Disney World
On the heals of the very surprising announcement that Disney World would be reducing the price of their PhotoPass Memory Maker Package (read details here), two more changes have been announced that will make the package more attractive and affordable for guests. The Memory Maker package gives guests unlimited downloads of the many photos taken on rides, with characters or at picture spots by Disney photographers.
The standard Memory Maker Package allows downloads of all pictures taken for the length of a guest’s stay at Walt Disney World Resort and costs $169 or $149 if purchased in advance. Disney has now added a much more affordable one-day option for $59. Please note the one-day package is only available for purchase in the My Disney Experience App for iPhone and Android phones.
There are plenty of great reasons to have the app including managing your reservations, fast passes, checking on wait times and more. So, if you haven’t already done so getting the app before your next trip is a must.
The second change announced impact the Disney Visa PhotoPass Meet & Greet at Innoventions in Epcot. The Disney Visa Meet & Greet provided Disney Visa Cardholders the opportunity to meeting Mickey, Minnie, Pluto and Goofy. Previously, guests received on free print of one of the character greetings. Guests will now receive free digital downloads of all pictures taken with the characters. The Disney Visa Meet & Greet is open daily from 1 pm to 7 pm.
Top 10 Tips for Taking Great Photos at Disney World
by Cindy N
A vacation to Disney World is a photographer’s dream come true. With so much to see and do, the opportunities for great pictures are endless. In fact, more photos are taken at Walt Disney World than anywhere else on the planet! Below are the top 10 tips to taking great pictures at Disney World.
10 – Know How to Use Your Camera
This may be an obvious tip, but you might be amazed at how many people really don’t know how to use their camera properly. Know what the preset modes are for and when to use them. Learn how by changing simple settings on your camera, can help you take a great photo. User manuals, books and even classes are available to help you learn how to take great pictures. You wouldn’t run a marathon in new shoes. The excitement of being in the most magical place on earth is not the time to be figuring out a new camera!
TIP: If you find out you forgotten a memory card or just need more room for pictures, check out the camera centers in each park.
9 – For Large Parties, Designate One Person to be the Photographer
When my extended family vacationed at Disney a few years ago, I was designated to be the trip photographer. I didn’t mind, because I love taking pictures. Our motivation was a simple one. Spend less time taking pictures and more time creating moments for taking pictures of. We had 4 different family groups traveling with us. If all of us, at every spot, wanted a picture with our own cameras, that would take a lot of time and create an unnecessary level of frustration (seriously, getting everyone looking and not blinking for one camera is hard enough).
So, we used my camera and I simply shared the digital files at the end of our trip. It was a lot simpler and a lot easier. Now that doesn’t mean that the person you designate will never be in any of the pictures. You can rotate your “photographer of the day” role. And certainly include that person in pictures throughout the day. The point is to use one camera throughout the day, instead of 4! Hey, we live in a digital age. Take advantage!
8 – I Saw the Sign (and it rolled my husband’s eyes)
My husband relentlessly teases me over some of the items I choose to photograph. We have a lot of pictures of signs. Yes, I take pictures of signs. Mostly, I take pictures of signs to remind me where I am or the event we’re attending. But I also take pictures of buildings and random scenery. I want the picture to give me the context of where I was. I want to photograph details to archive the moment.
In the same way, Walt Disney World is constantly changing. Decorations and theming change. Refurbishments occur. I want an image of what Disney was like during that visit so I have a nice collection of pictures of items and buildings that are no longer there. We have pictures of Expedition Everest being built. We photographed Mickey and Minnie’s Houses just before Toontown Fair was closed forever. Document the moment.
7 – Look to Capture the Unusual Moments/Shots
Moving beyond the buildings, most of the pictures we take will be of the people we are with—the people that we love. I take plenty of ‘normal’ shots with all the familiar poses. But, I also like to take pictures when people aren’t looking. I take pictures of a father holding his son’s hand, sisters holding hands, a baby’s shoe sticking out of a stroller while napping, a family laughing. Capture human interaction and enjoyment at it’s best. These have a strange way of being the prize winning snap shots.
6 – See the World Through Your Children’s Eyes
It can difficult to remember what it was truly like to be a child at Walt Disney World (even though we are all children at heart when we’re there). Take the time capture that sense of wonder children have by photographing Disney through a child’s eye. Go ahead and get low to the ground and you’ll get a whole new perspective. Frame the shot with the child looking ahead. Capture the child’s reaction to a character, a ride, a show—anything!
5 – Know When to Use Video
Pictures are not the only thing you can do to capture memories. Choosing video may be your best option for certain situations. There are video options on most, if not all, point and shoot cameras. Even most of our phones have a video function that rivals the Hubble Telescope. Don’t miss the opportunity to shoot some home movies! Whether it’s capturing a show, a parade or your child’s laugh, video can be a fantastic way to remember parts of your trip. Pictures capture the image, but only a video can capture a child’s laugh or the sound of a loved one’s voice.
4 – Catch the Excitement
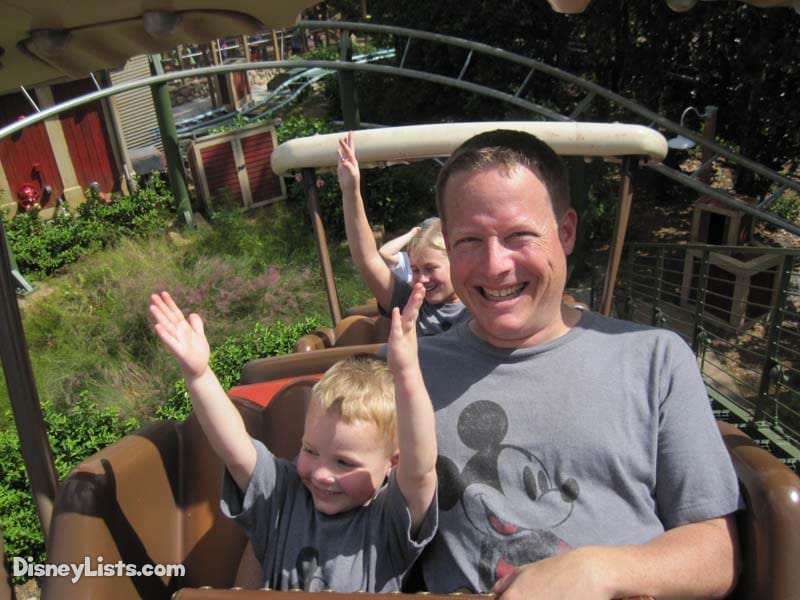
Thankfully, a vacation to Walt Disney World is full of exciting moments. Children conquer a ‘big ride’ for the first time or meet their favorite character ‘for real’! Be ready to capture these moments. I’ve even been known to take a picture or two on a ride itself!
Tip: While DisneyLists.com recommends you follow the rules and do not take photos on a ride, if you are going to live dangerously it goes without saying—be extremely careful! Make sure you have your wrist strap on and hold tightly to your camera. Quickly take the shot you want and put your camera safely away! DisneyLists.com is not responsible for any dropped cameras!
3 – Don’t Be Afraid of the Dark
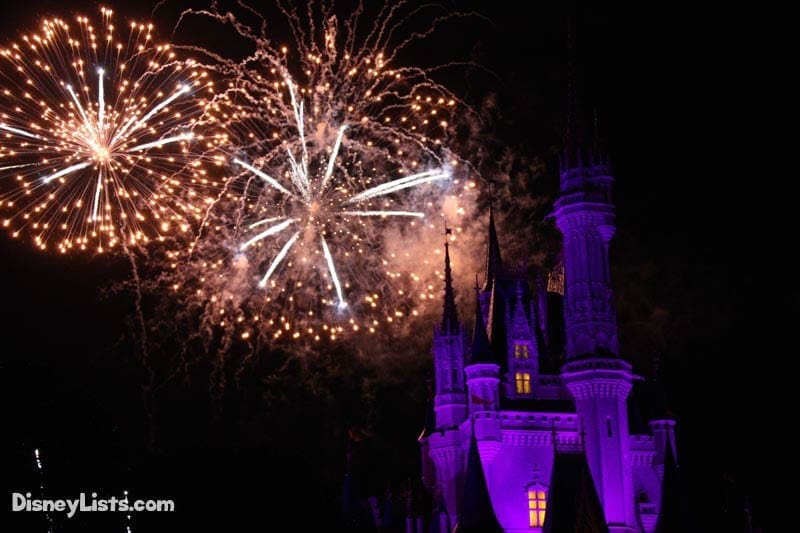
There are plenty of people who put their cameras away when the sun goes down. You may not have to. More than any other tip on this list, the ability to take decent night pictures really depends on how good your camera is. Most basic point and shoots just don’t have the ability to take good pictures in low light. A high end point and shoot or a DSLR camera usually produce superior low light photographs. But here is a quick tip to what you really need for good night pictures: minimal shaking. Be as still as possible.
Also, the higher you set your camera’s ISO, the more light the camera will allow and the better your picture will be. A high ISO used to mean very grainy pictures, but digital cameras have become so sophisticated, you can use a high ISO now and have very sharp photos. This is where knowing how to use your camera in low light situations really helps. Practice at home before your vacation so that when you do come to Disney, you’ll be ready to take some great night shots.
2 – Use Disney’s PhotoPass or Memory Maker
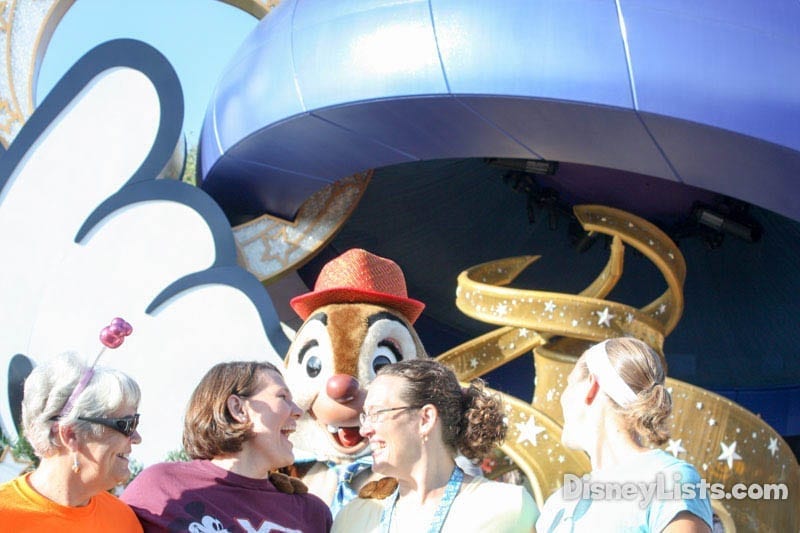
Sometimes the best option is to use Disney’s PhotoPass service. Disney has photographers all over the parks, ready and willing to take your photos. After they take your picture they scan a PhotoPass card or your Magic Band. After your vacation is done you can upload pictures and buy any pictures you want. It doesn’t cost anything to get your picture taken, so use the service as often as possible. You can always choose not to buy a picture, but you can’t transport yourself back to the park to get the picture you missed.
If you anticipate using a lot of the Disney photography options, you can save a lot of money by buying a Memory Maker package that allows you to download every picture from PhotoPass photographers, attraction photos and videos, Magic Shots and Dining Photos. An advance purchase is $169. Note that the advance purchase package does not include photos taken within three days of purchase and the purchase is non-refundable. The regular Memory Maker package starts immediately and is $199. If you don’t want to worry about taking your own pictures, then this is a great choice!
Also, if you are vacationing with a large party with multiple families, then Memory Maker saves you even more money. Not only can you download your own Disney PhotoPass photos, but you can also download those on your Family & Friends lists in My Disney Experience. So multiple families can go in on the purchase and everyone can have access to the pictures!
1 – Don’t Spend the Entire Time Behind the Lens
While I love taking pictures, I don’t want taking pictures to stop me from enjoying myself! And I certainly don’t want my photography to take away time from the people I’m traveling with. Take lots pictures, but don’t be afraid to put the camera away. Enjoy the special moments a trip to Disney affords. Don’t miss out on the amazing animal encounters on the safari, because you’re so worried about the focus working on the camera. Don’t miss watching the show or parade. We don’t actually have to photograph every single float. (Although, I admit, I’ve done just that). We live in a tech filled world. Sometimes the best memories we can make are the ones without electronics. Be in the moment and enjoy!
What are your great photo tips? Any favorite photos spots?
Bonus: You may even get Photo Bombed!


